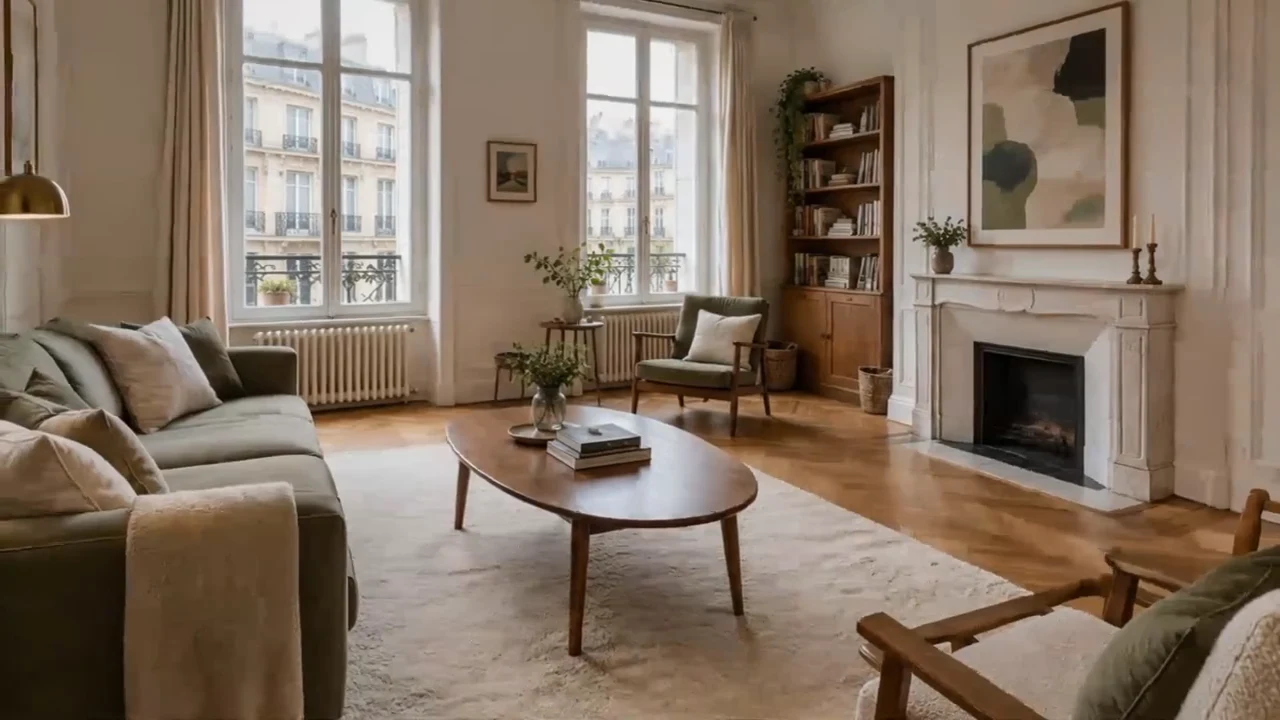
How to Make Real Estate Videos from Photos

To make a real estate video from photos, select clear views of the same property, order them, describe gentle camera movement, and generate a short clip. Compare the result with the source photos before using it in a listing. The examples below show what to upload, which settings to choose and what to inspect; a longer finished tour needs an editing step.

LumiYingUpdated

Make a listing clip in 7 steps

Start with one photo or a small set of views from the same listing. A 10-second test is easier to inspect than a busy sequence of six rooms.

  1. Step 01 Select photos that describe the actual property

    Choose sharp images with readable doors, windows and edges. Use the current condition of the property and only views you are entitled to use. For multiple rooms, select photos from the same listing. Do not combine different properties to make a larger home. Keep the originals alongside the generated result for comparison.

  2. Step 02 Choose the order and the purpose of each view

    For a first sequence, try three views: kitchen, dining area, living room. Upload them in that order and name image 1, image 2 and image 3 in the prompt. Alternatively, make separate clips for an exterior introduction and a room detail. Photos do not prove that rooms connect, so use cuts instead of asking the camera to walk between them.

  3. Step 03 Write a camera brief with visible limits

    Describe the view, one small movement and the details to retain. For example: 'slow forward move toward the existing kitchen counter; keep cabinets, tile lines and window view unchanged'. Avoid 'fly through the whole home' or a large orbit that needs unseen geometry. An optional blank direction uses the tool's restrained property-motion instructions.

  4. Step 04 Choose model, duration and framing

    Open the generator, choose an image-compatible model and upload 1–6 photos. Start with 10 seconds and one to three views. Use 16:9 for a landscape listing clip, 9:16 for a portrait post or 1:1 for a square source. Check that important doorways and room edges fit the chosen frame. Output is 720p; review the credit quote before generating.

  5. Step 05 Review the property, frame by frame

    Play the whole clip, then pause at the beginning, middle and end of each shot. Compare door counts, window divisions, cabinet handles, worktop edges, mirror reflections and the actual outdoor view with the originals. Check for stretched walls, changing furniture or removed defects. If a key feature changes, set that take aside rather than using it as a listing representation.

  6. Step 06 Retry the smallest problematic brief

    Use Re-edit to restore the photos, direction and settings. If a room distorts, reduce the camera movement. If rooms merge, request separate views with a clean cut, or generate each photo as its own clip. If the sequence is rushed, use fewer photos. Re-editing prepares the form; submitting another generation spends credits again.

  7. Step 07 Download and assemble the final listing video

    Download the accepted clips. For a longer property presentation, place them in a video editor in the intended order, trim weak beginnings or endings and add simple cuts. Add verified address, price and features as editable titles, then your approved logo and licensed soundtrack. Check the final crop and every factual title before export. This tool generates short clips; assembly, titles and music are separate editing steps.

Choose inputs and settings for the first attempt

Choose enough views to explain the property, with enough time to read each one. Six uploads are a limit, not a target.

Prepare the photos

Source views
One clear photo, or 2–3 views of the same property.
A single image is the easiest way to evaluate movement and property changes.
File and order
1–6 JPEG, PNG or WebP images; 10 or 30 MB per image, depending on the model. Follow the selected model’s displayed image limits.
Select them in shot order and identify their roles in the prompt. Inspect the uploaded thumbnails before submitting.
What stays fixed
Architecture, room proportions, furniture, finishes and existing views.
Name important visible details. Do not ask the model to repair defects or add a selling feature.

Plan the clip

Duration
10 seconds for a first one- or three-view test.
More photos in the same duration mean less time for each view. Available durations depend on the model.
Aspect ratio
Match the destination and the source framing: 16:9, 9:16 or 1:1.
A wide room in a narrow frame may lose important edges. Prefer a matching source over a request to invent the missing space.
Movement and sound
A small push or sideways move; direct cuts between views; silent output.
Add exact titles, branding and music later, where they can be checked and edited separately.

Two complete briefs you can load

Begin with the single kitchen photo, then try three views. The sample inputs are for practice; replace them with photos of your listing when preparing a client video.

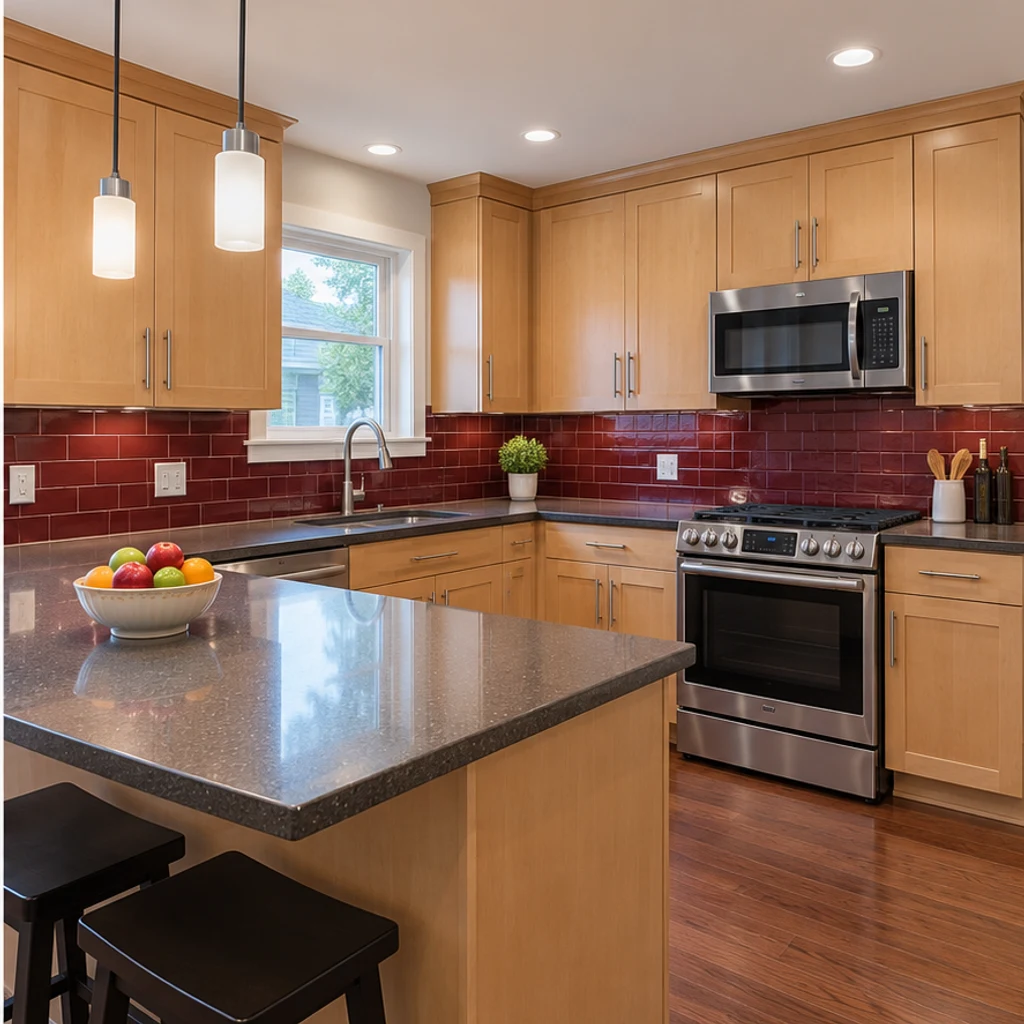
One kitchen photo · 10s · 1:1

One kitchen photo · 10s · 1:1 — 1
Reference image 1

Use image 1 as the exact kitchen view. Make one very gentle forward camera move toward the existing countertop. Preserve the maple cabinets, red backsplash tiles, appliances, handles, worktop edges and window view. Keep vertical lines straight. Do not renovate or remove objects; no captions, people or music.

Load the photo and settings, then generate one take. Watch the tile grid, cabinet handles and window as the camera approaches. If straight lines bend, reduce the push to an almost static shot. The square ratio keeps this square reference readable.

Load photos and prompt

Three apartment views · 10s · 16:9

Three apartment views · 10s · 16:9 — 1
Reference image 1
Three apartment views · 10s · 16:9 — 2
Reference image 2
Three apartment views · 10s · 16:9 — 3
Reference image 3

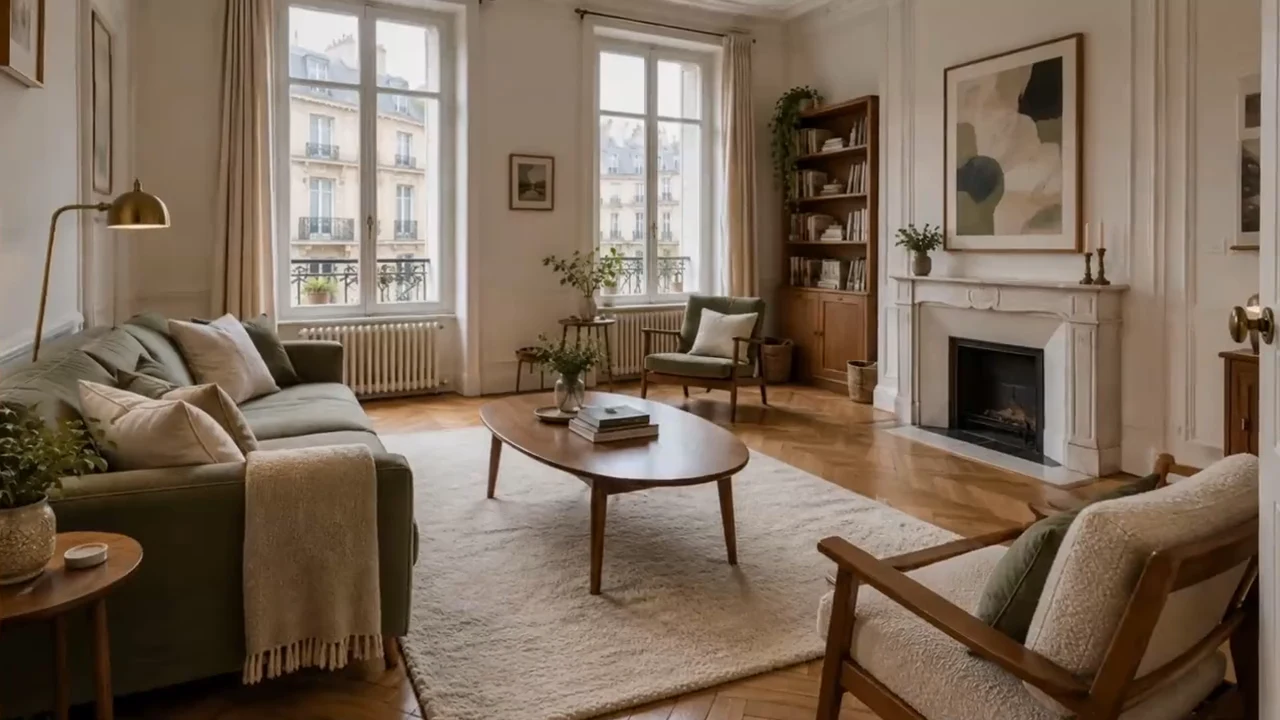
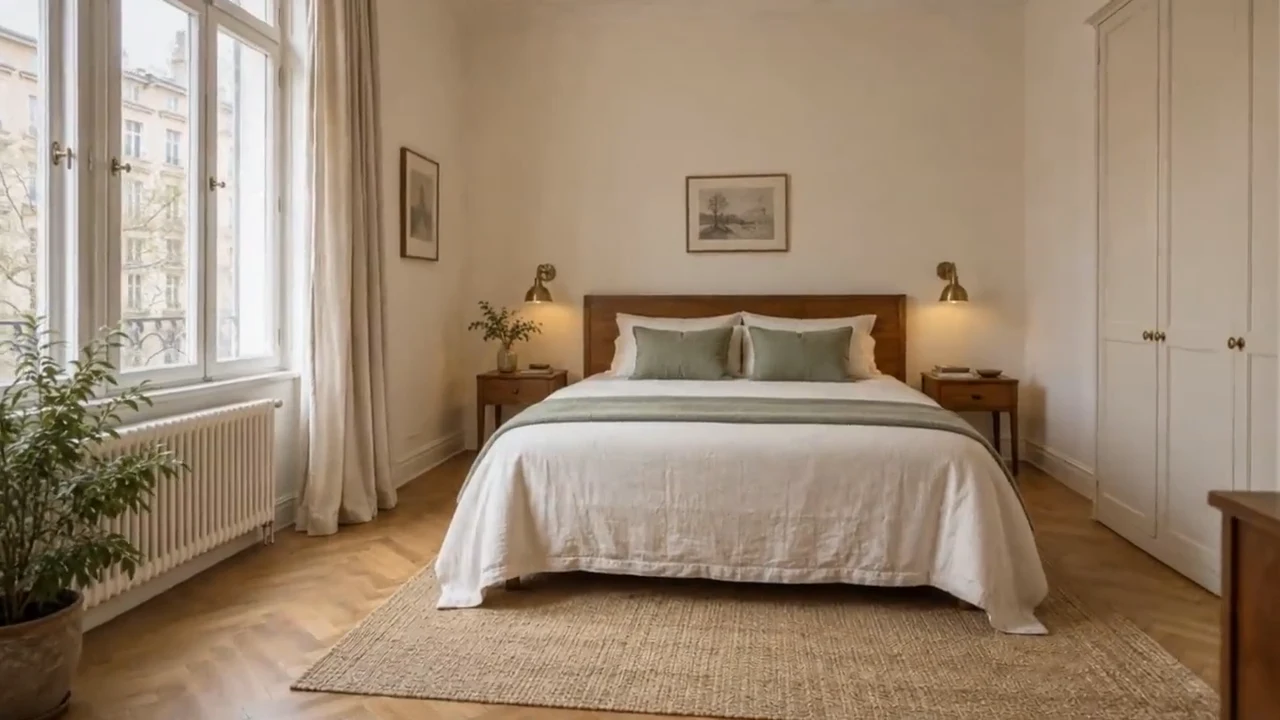
Create a 10-second property teaser from images 1–3 in this order: kitchen, dining area, living room. Give each reference its own full-frame shot with a small, slow camera move and a clean cut to the next view. Preserve the photographed cabinetry, furniture, doors, windows and room proportions. Do not morph spaces together or invent a connecting route. No text, narration or music.
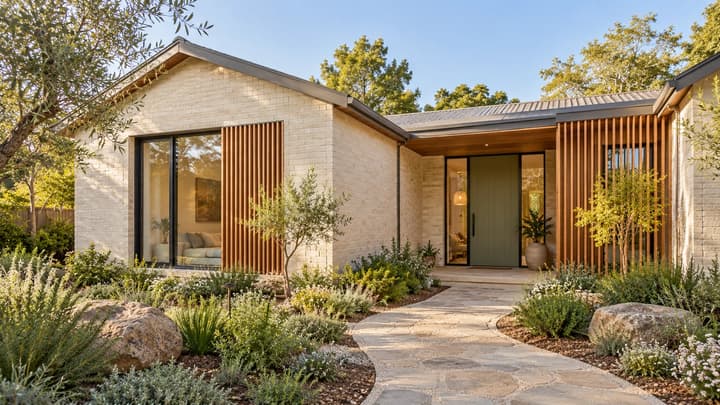
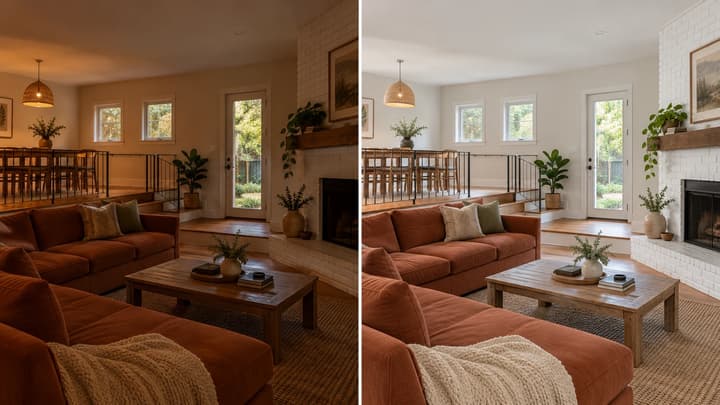
The three references below follow kitchen → dining area → living room. Allow roughly three seconds per view, but treat the prompt as direction rather than exact timeline control. Check that all three appear separately and that the model does not invent a passage between rooms.

Load photos and prompt

Watch two property video approaches

Compare a landscape room sequence with a portrait reel. Load the selected reference frames and our suggested direction to try a similar brief with the model you choose.

Three-view apartment teaser

A kitchen, dining area and living room appear in a short landscape sequence. Watch the small camera moves and separate room views.

Reference image
Public demo
Suggested camera direction

Create a 10-second property teaser from images 1–3 in this order: kitchen, dining area, living room. Give each reference its own full-frame shot with a small, slow camera move and a clean cut to the next view. Preserve the photographed cabinetry, furniture, doors, windows and room proportions. Do not morph spaces together or invent a connecting route. No text, narration or music.
Load photos and prompt

Five-view portrait reel

A portrait sequence moves between decor, bedroom, loft, kitchen and bathroom views. Notice how quickly each view passes in a short reel.

Reference image
Public demo
Suggested camera direction

Create a 15-second portrait property reel from images 1–5 in upload order: decor detail, bedroom, loft, kitchen, bathroom. Use separate full-frame views, restrained camera motion and direct cuts. Preserve the existing structure, furnishings, finishes and window views. Do not imply an unphotographed floor plan or add features. No captions, narration or music.

Load photos and prompt

What to inspect and how to change the next attempt

Compare the output with the source photos before delivering it. Keep useful takes and change one cause at a time.

Doors, windows or cabinets change
Movement may expose space absent from the source photo.
Keep one source view and reduce the camera travel. Explicitly retain the affected feature; reject altered results.
Rooms melt into one another
The brief may imply a continuous walk through unrelated views.
Request clean cuts, name the image order, or generate one clip per room.
The property looks larger or newly renovated
Wide motion or a styling request may have changed proportions and finishes.
Remove enhancement language. Compare wall lines, fixtures and visible defects with the originals.
The sequence is too fast
Too many views compete within the chosen duration.
Start with fewer photos or select a longer supported duration. Assemble separate clips for a full presentation.
Important room edges are missing
The output ratio may be poorly matched to the photo.
Use a matching source or ratio. Avoid prompts that ask the model to reconstruct unseen corners.
Frequently asked questions

Frequently asked questions

Can one photo become a real estate video?

Yes. Upload one clear view and describe a gentle push or sideways move. Begin with a short test and compare fixed features with the original before sharing.

How do I turn photos into a longer listing video?

Generate a few short, focused clips, review them and arrange the accepted takes in a video editor. Add factual titles, branding and music there. One generation does not create a complete long listing edit.

Is a generated walkthrough an accurate floor plan?

No. Separate photographs do not establish how rooms connect, and a model can invent unseen space. Use separate room shots with cuts. For a verified continuous tour, capture actual walkthrough footage.

Do I need to upload all six photos?

No. One to three clear views are a useful first test. Upload more only when each adds a specific view and the selected duration gives it time to be read.

What happens when I load a brief?

It fills the reference images, direction, duration and ratio. It does not start generation or spend credits. Check the selected model and current quote before submitting.

Should I add the address and price in the prompt?

Add verified facts as titles in your final editor instead. That keeps spelling, numbers and placement directly editable without regenerating the property footage.

Start with one clear property view

Start with one photo or a small set of views from the same listing. A 10-second test is easier to inspect than a busy sequence of six rooms.