AI Real Estate Video Generator

Model

Property photos

Duration
Aspect ratio

AI Real Estate Video Generator

Turn 1–6 property photos into a short AI real estate video. Choose a model, direct the camera, and review your listing clip before downloading.

AI Real Estate Video Generator

Watch two property video approaches

Compare a landscape room sequence with a portrait reel. Load the selected reference frames and our suggested direction to try a similar brief with the model you choose.

Three-view apartment teaser

A kitchen, dining area and living room appear in a short landscape sequence. Watch the small camera moves and separate room views.

Reference image
Public demo
Suggested camera direction

Create a 10-second property teaser from images 1–3 in this order: kitchen, dining area, living room. Give each reference its own full-frame shot with a small, slow camera move and a clean cut to the next view. Preserve the photographed cabinetry, furniture, doors, windows and room proportions. Do not morph spaces together or invent a connecting route. No text, narration or music.
Load photos and prompt

Five-view portrait reel

A portrait sequence moves between decor, bedroom, loft, kitchen and bathroom views. Notice how quickly each view passes in a short reel.

Reference image
Public demo
Suggested camera direction

Create a 15-second portrait property reel from images 1–5 in upload order: decor detail, bedroom, loft, kitchen, bathroom. Use separate full-frame views, restrained camera motion and direct cuts. Preserve the existing structure, furnishings, finishes and window views. Do not imply an unphotographed floor plan or add features. No captions, narration or music.

Load photos and prompt

Give each property view a clear purpose

These concept images show four useful starting points. Use your own listing photographs to define the actual property and ask for restrained motion within the visible space.

Interiors

Show the room, slowly

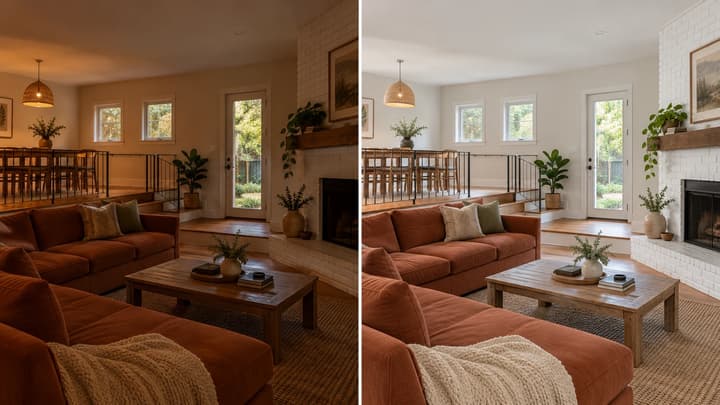
A small camera push can give a living-room photo depth. Keep the photographed proportions, furniture and window view in the brief.

Exteriors

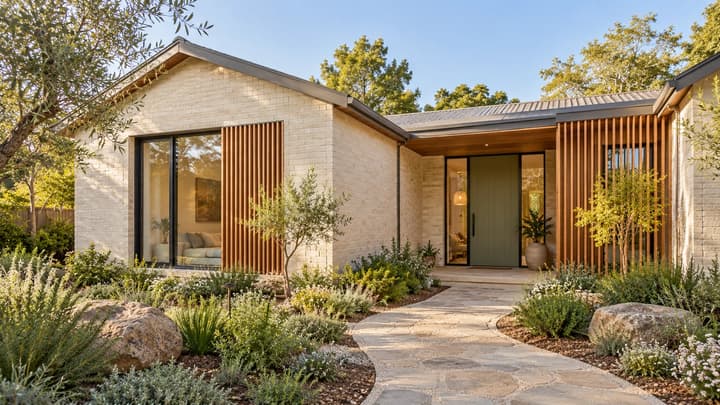
Introduce the front of the property

Start from a clear frontage photo. Keep the roof, entrance and neighboring boundaries visible without inventing a view around the building.

Rentals

Make a compact space readable

Show a studio's existing kitchenette, living area and daylight with one modest movement. Avoid making a small room appear larger.

Outdoor space

Finish on an outdoor detail

Use a garden or terrace photo as its own shot. Keep the plants, paving and property boundary where they are.

8 photo briefs to try

The first six are separate practice photos, not one property. The last two load a sequence of frames from the public demos. Loading fills the photos, prompt, duration and ratio; generation starts only when you submit.

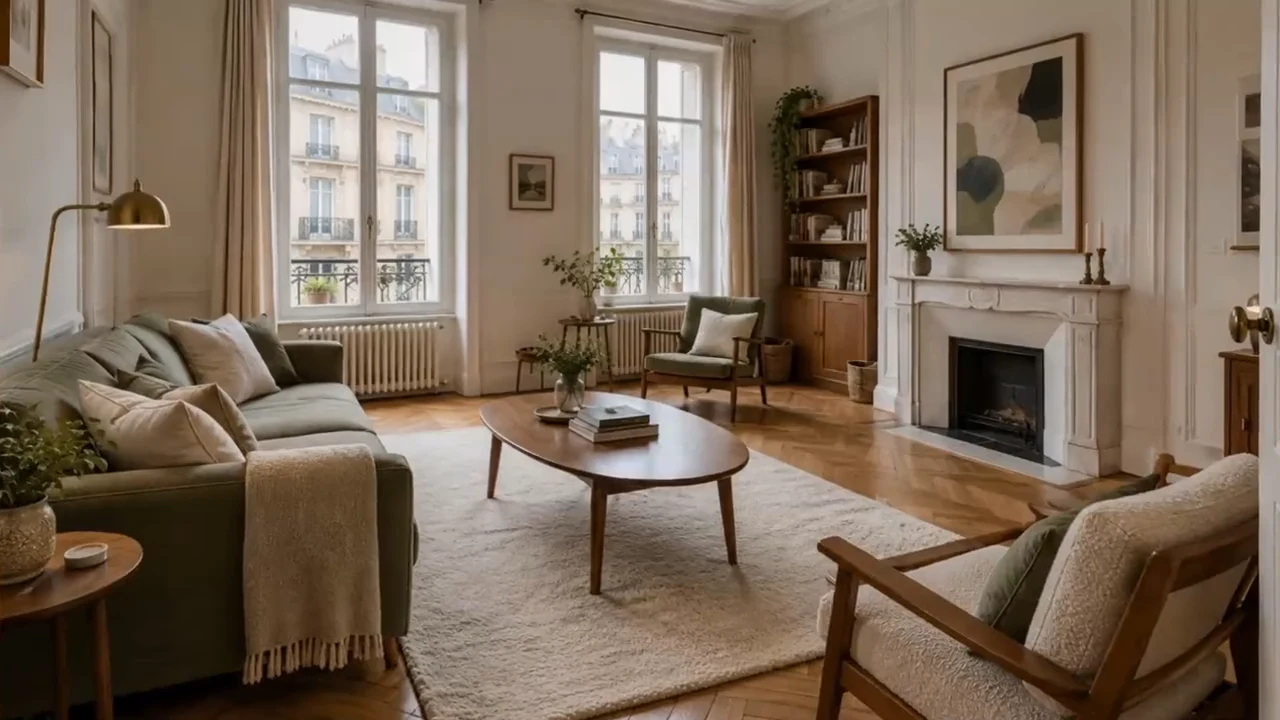
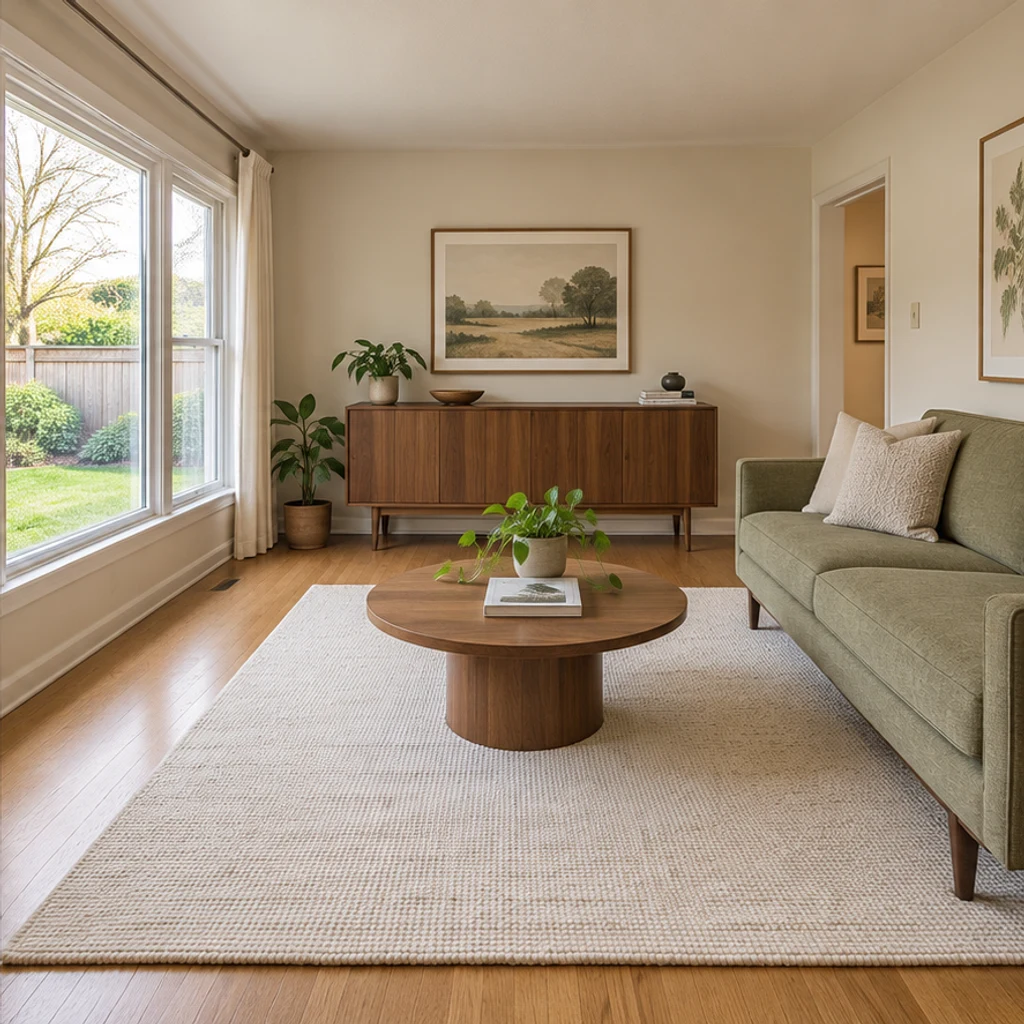
Living-room introduction — Reference image

Living-room introduction

One photo · 10s · 1:1. Try a small sideways move while keeping the sofa and window readable.

Suggested camera direction

Use image 1 as the exact living-room view. Move the camera very slowly sideways, with only a small change in position. Keep the green sofa, round coffee table, cabinet, window divisions and actual garden view unchanged. Do not enlarge the room or add furnishings. Finish on a steady composition; no text or music.

Load photos and prompt
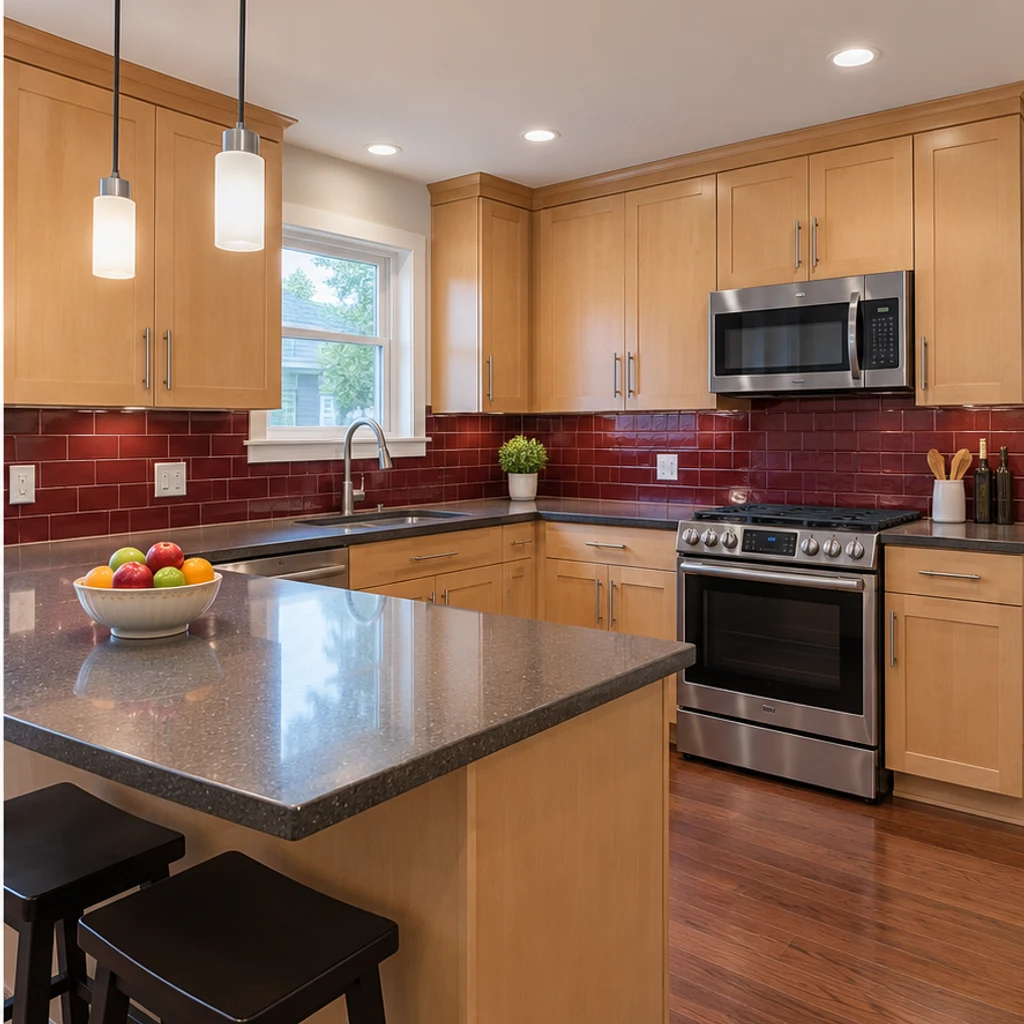
Kitchen detail — Reference image

Kitchen detail

One photo · 10s · 1:1. A gentle push keeps attention on existing cabinetry and worktops.

Suggested camera direction

Use image 1 as the exact kitchen view. Make one very gentle forward camera move toward the existing countertop. Preserve the maple cabinets, red backsplash tiles, appliances, handles, worktop edges and window view. Keep vertical lines straight. Do not renovate or remove objects; no captions, people or music.

Load photos and prompt
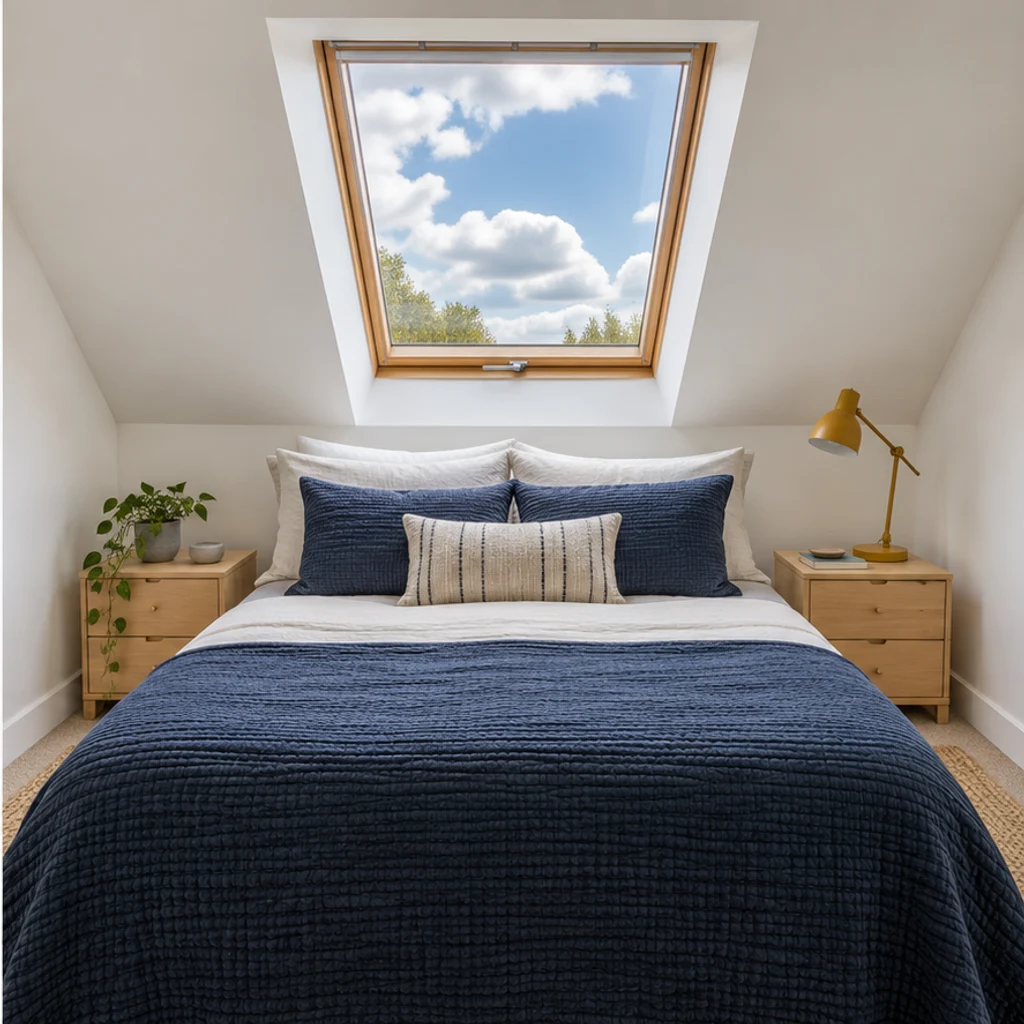
Bedroom with a skylight — Reference image

Bedroom with a skylight

One photo · 10s · 1:1. Keep the bed and skylight in view without revealing an invented upper floor.

Suggested camera direction

Use image 1 as the exact bedroom view. Make a small, slow forward move toward the bed, keeping the skylight inside the photographed composition. Preserve the sloped ceiling, window size, bedding and furniture. Do not reveal new rooms or change the weather outside. End steadily; no text or music.

Load photos and prompt
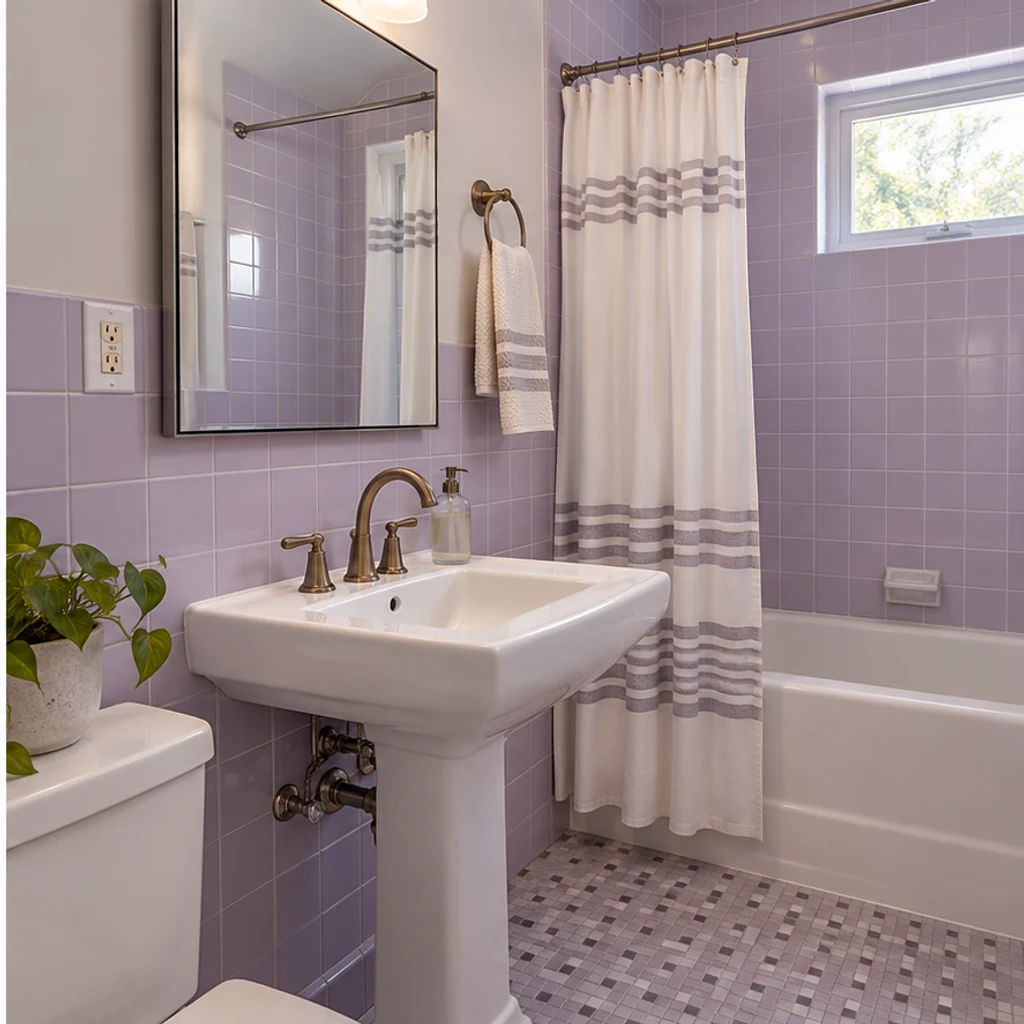
Bathroom overview — Reference image

Bathroom overview

One photo · 10s · 1:1. Minimal movement makes changes to fixtures and mirror edges easier to catch.

Suggested camera direction

Use image 1 as the exact bathroom view. Keep the camera nearly still with a very slight forward move. Preserve the sink, taps, lavender tiles, mirror boundaries, shower curtain and window. Keep reflections coherent and do not add fittings or change the room size. No people, text or music.

Load photos and prompt
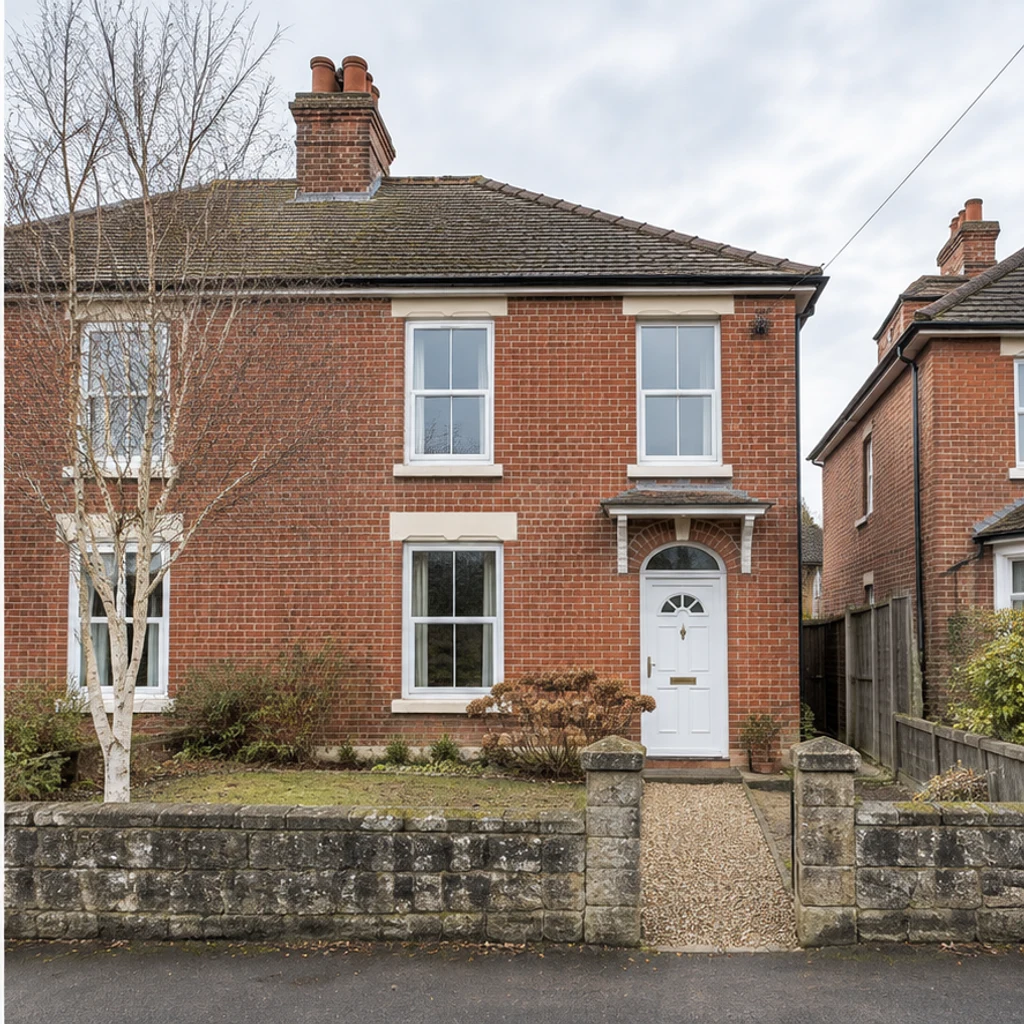
Frontage introduction — Reference image

Frontage introduction

One photo · 10s · 1:1. Move slightly toward the entrance, staying in front of the photographed house.

Suggested camera direction

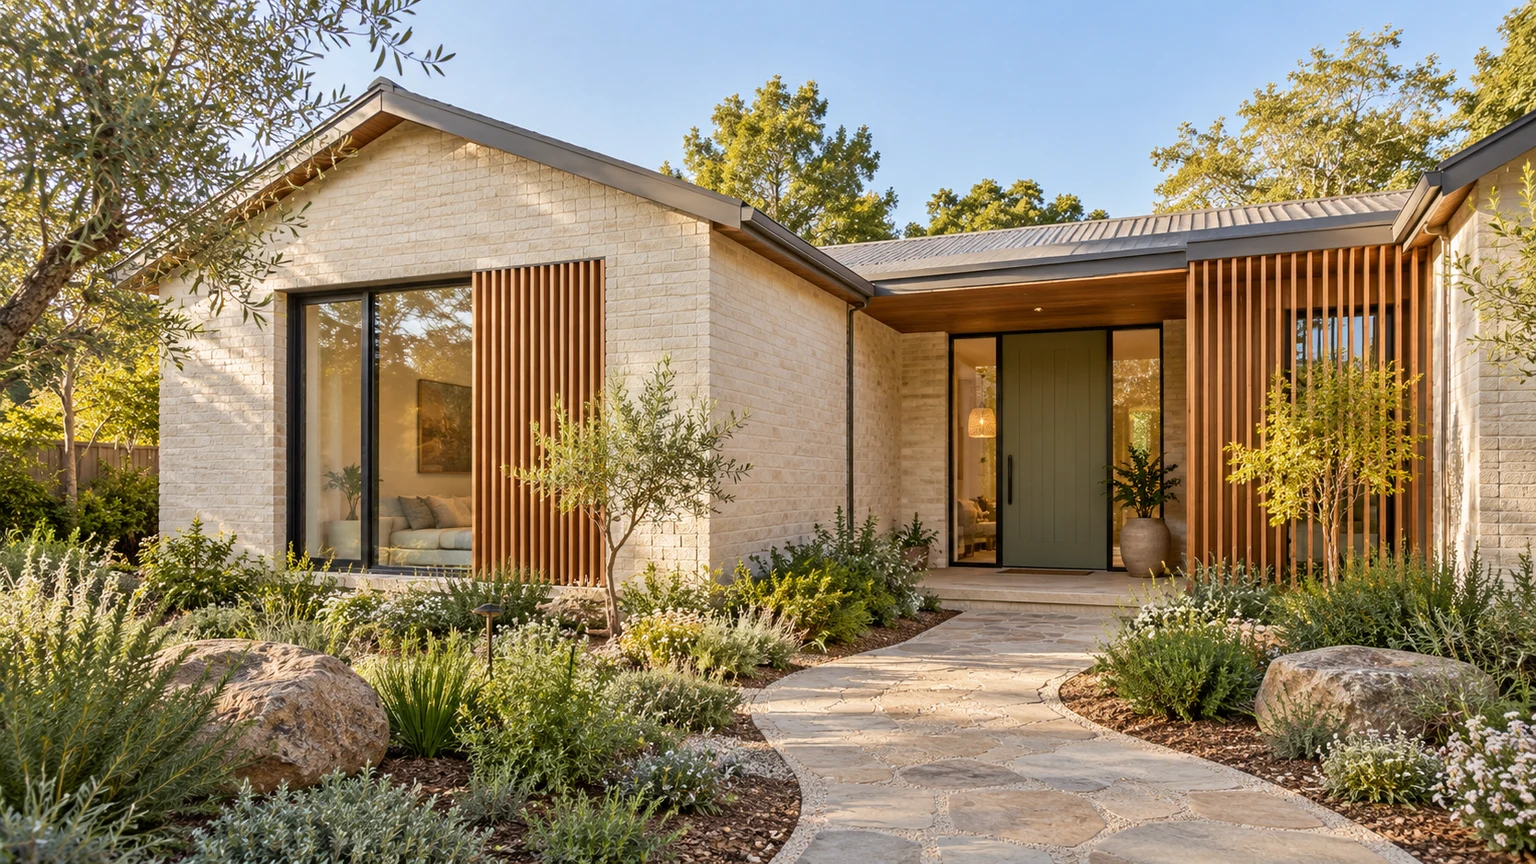
Use image 1 as the exact front exterior. Move forward very slightly along the existing path, keeping the brick facade, white door, roof, windows, front wall and neighboring building unchanged. Keep the same daylight and weather. Do not orbit the house or invent an interior view. No text or music.

Load photos and prompt
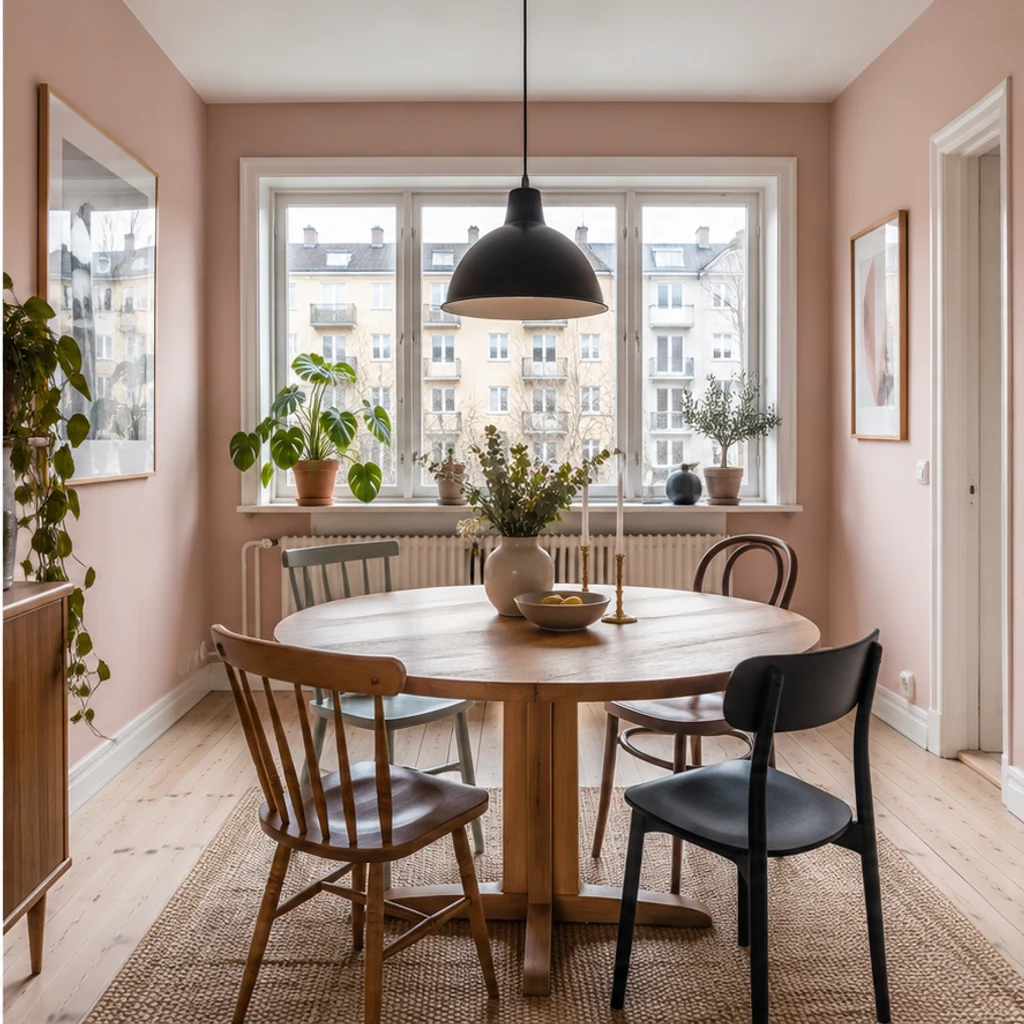
Dining-area finish — Reference image

Dining-area finish

One photo · 10s · 1:1. A modest lateral move shows the table, pendant and existing window view.

Suggested camera direction

Use image 1 as the exact dining-area view. Move the camera slowly a short distance sideways while retaining the round table, chairs, pendant light, pink walls and actual buildings outside the window. Keep furniture and room proportions unchanged. Finish with a stable view; no people, captions or music.

Load photos and prompt
Three-view apartment teaser — Reference image

Three-view apartment teaser

Three references · 10s · 16:9. Separate the kitchen, dining and living views with clean cuts.

Suggested camera direction

Create a 10-second property teaser from images 1–3 in this order: kitchen, dining area, living room. Give each reference its own full-frame shot with a small, slow camera move and a clean cut to the next view. Preserve the photographed cabinetry, furniture, doors, windows and room proportions. Do not morph spaces together or invent a connecting route. No text, narration or music.
Load photos and prompt
Five-view portrait reel — Reference image

Five-view portrait reel

Five references · 15s · 9:16. Keep each view brief and use direct cuts between distinct spaces.

Suggested camera direction

Create a 15-second portrait property reel from images 1–5 in upload order: decor detail, bedroom, loft, kitchen, bathroom. Use separate full-frame views, restrained camera motion and direct cuts. Preserve the existing structure, furnishings, finishes and window views. Do not imply an unphotographed floor plan or add features. No captions, narration or music.

Load photos and prompt

From listing photos to a short clip

01

Upload property photos

Choose a model and add 1–6 JPEG, PNG or WebP photos. For a multi-view listing clip, use photos of the same property in the intended shot order.

02

Set the camera and format

Optionally describe a gentle move and the details to retain. Choose duration and aspect ratio, then check the displayed credit cost. Output is 720p.

03

Generate, compare and download

Watch the whole result and compare it with the photos. Check architecture, fixtures and window views. Download a useful take or re-edit the original inputs.

Make the property easy to recognize

A useful listing clip communicates the photographed space. Start with a brief that makes unwanted changes easy to spot.

Give the camera one job

Small pushes or lateral moves need less unseen space than large orbits. Ask for one clear movement per view.

Separate unrelated views

Use cuts between rooms. Separate photographs do not establish a continuous route through the property.

Review before sharing

Instructions guide the model but cannot lock every architectural detail. Compare the beginning, middle and end with the originals.

Frequently asked questions

How many photos can I upload?

Upload 1–6 JPEG, PNG or WebP images. The file-size limit is 10 or 30 MB per image, depending on the selected model. Follow its displayed image limits. One photo is enough for a first camera-move test.

Which models are available?

The selector offers available models that accept up to six image references through this workflow without requiring an input video. Durations follow the selected model.

Does this make a full property tour automatically?

Each generation produces one short clip, currently up to 15 or 30 seconds depending on the model. It has no per-photo timeline, automatic long-film assembly or listing-link importer.

Will it preserve the house exactly?

The prompt asks the model to retain the photographed structure and details, but errors can occur. Reject clips that alter doors, windows, fixtures, room dimensions or views.

Can I add music, an address or my logo?

This workflow requests a silent property clip. Add approved listing facts, branding, music and precise cuts to the downloaded video in your editor.

Does loading an example use credits?

No. It prepares the reference images, direction and settings. Paid generation begins when you submit; the form shows the current quote first.

Start with one clear property view

Turn 1–6 property photos into a short AI real estate video. Choose a model, direct the camera, and review your listing clip before downloading.