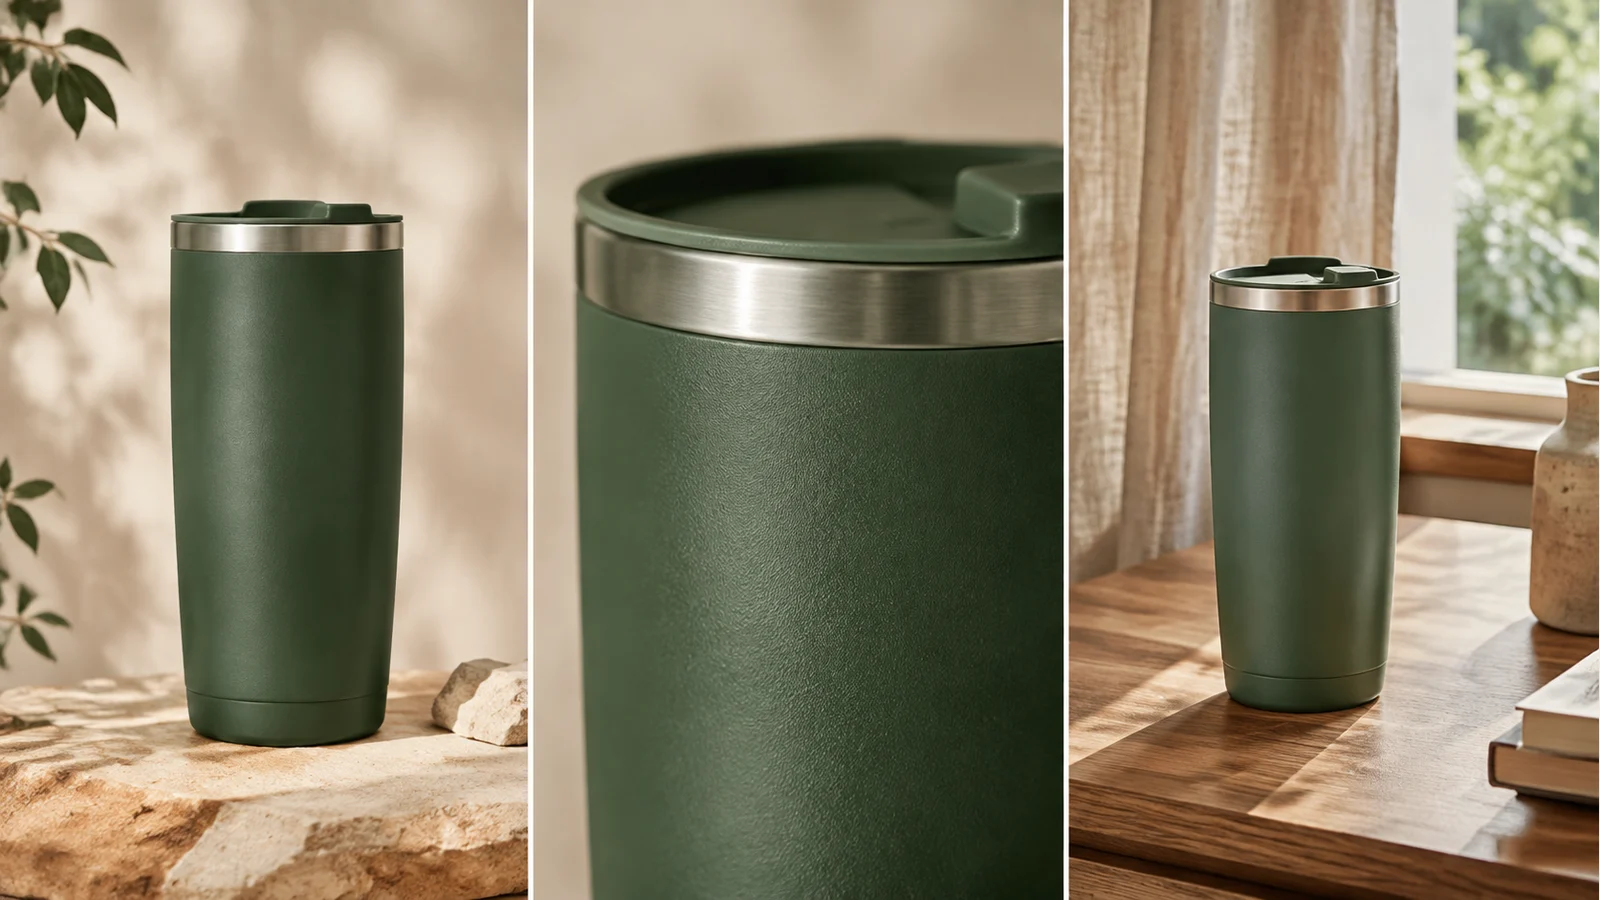
How to Make Product Videos with AI
To make a product video with AI, upload a clear photo, describe one shot, select supported settings and generate a clip. Use the controlled motion test below to check whether object movement and camera movement are actually visible before editing.
LumiYingUpdated
Product showcase, demo or presenter ad: which workflow fits?
These videos answer different customer questions. Choose the source that can show the required information before you choose a model.
Plan three shots before writing a prompt
Give each shot one job. The cover illustrates a shot plan; it is not a set of generated video results.
Prepare the reference and prevent avoidable errors
Use the actual product photo
Choose a sharp image with natural color and visible edges. Remove unrelated clutter before upload, but retain the features that distinguish the real item.
Avoid inventing unseen sides
A large orbit can reveal surfaces absent from the reference. Start with a push-in or a small slide. For a different view, prepare a photo of that angle and generate another shot.
Simplify when text or shape drifts
Reduce the motion and remove competing lighting instructions. If a logo or label must be exact, add the approved graphic during editing and inspect the whole final clip.
Review before publishing
Watch at normal speed and pause at several points. Check product claims, packaging, color and scale against the actual item. Add your final captions and call to action only after accepting the footage.
From product photo to a usable clip
Save the source, prompt and chosen settings for each version. Change one variable when comparing results.
Choose the purpose of the shot
Decide whether this clip introduces the item, shows one detail or places it in context. Pick one action and an output layout before you upload.
Upload a clear product photo
Add a well-lit reference with visible edges and enough space around the item. Use the file requirements shown by the uploader; avoid a tiny screenshot or a collage of different products.
Describe one shot and choose settings
Use the upload's displayed @ label. Name the product details to retain and one camera move. Choose a supported aspect ratio, duration and resolution, then review the displayed credit cost.
Generate and inspect the full clip
Check the opening, middle and end for changing labels, warped edges or sliding shadows. Revise one instruction when needed. Download an accepted clip and finish captions, branding and assembly in your video editor.
Bottle rotation or camera orbit: which motion is easier to verify?
We generated two four-second clips from the same serum-bottle image with Seedance 2.0. The visible settings stayed the same and only the requested source of motion changed. The result shows that motion visibility depends on the visual evidence in the scene as well as the words in the prompt.
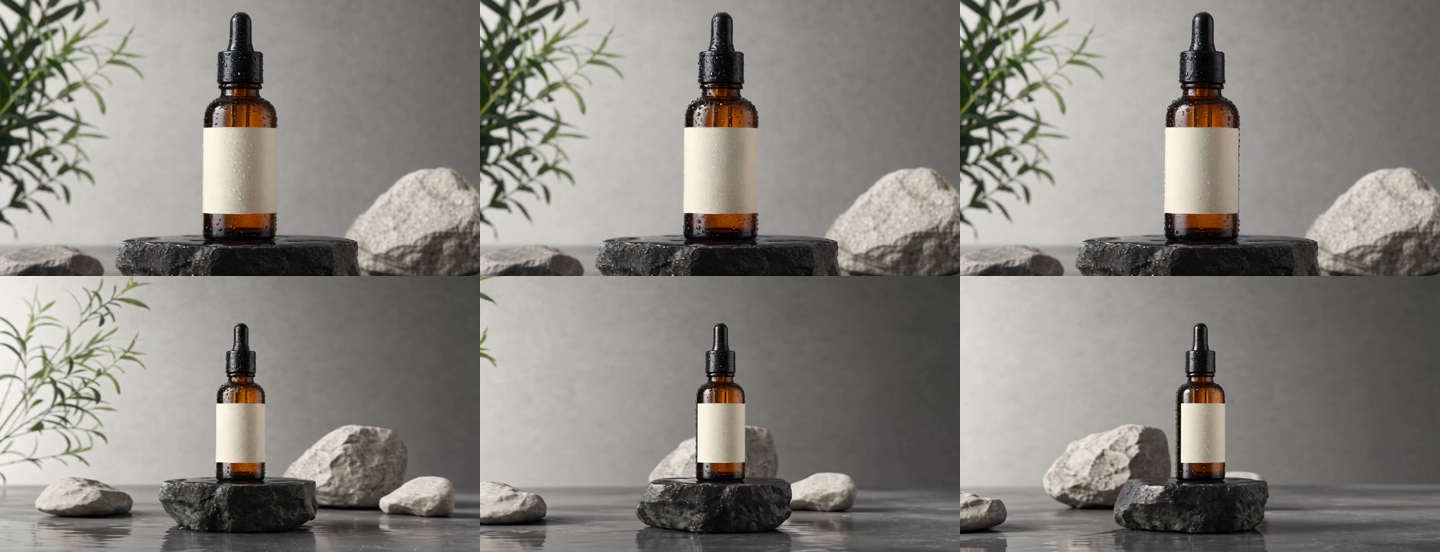
A — Bottle rotation with a locked camera
The bottle, dropper cap and blank label remain stable, and the water droplets move. The requested rotation is difficult to verify because the product is nearly symmetrical around its vertical axis.
The serum bottle slowly rotates clockwise on the stone pedestal. The camera remains completely locked off and stationary. Water droplets naturally slide down the glass bottle. Preserve the exact bottle shape, cap, blank label, materials, background, lighting, and product proportions. Smooth controlled motion, realistic premium skincare commercial, no camera movement, no zoom, no added objects, no text deformation.
B — Camera orbit around a stationary bottle
The background plant, stones and foreground shift at different rates, creating continuous parallax. Those reference points make the clockwise camera move clear while the product remains centered.
The serum bottle remains completely stationary on the stone pedestal while the camera slowly orbits clockwise around it. Water droplets naturally slide down the glass bottle. Preserve the exact bottle shape, cap, blank label, materials, background, lighting, and product proportions. Smooth controlled camera motion, realistic premium skincare commercial, no bottle rotation, no zoom, no added objects, no text deformation.
Why one motion reads clearly and the other does not
Prompt compliance is easier to judge when the scene contains stable landmarks that expose the requested change.
Why the bottle rotation is hard to see
The bottle body, dropper cap and blank front label are close to rotationally symmetric. With no side graphic, cap seam or asymmetric silhouette moving into view, adjacent frames provide few orientation cues. Stable geometry is a useful result, but it is not strong evidence of a completed rotation.
Why the camera orbit is clear
The plant, stones, pedestal edge and foreground droplets sit at different depths. As the camera moves, their relative positions change and create parallax. Multiple depth cues reveal the direction of travel even though the centered bottle changes very little.
Experiment conclusion
In these two retained runs, camera motion was easier to verify than bottle rotation. The decisive difference was not stronger wording: the orbit changed the relative positions of several depth layers, while the near-symmetrical bottle offered almost no orientation landmark. For a useful object-rotation test, add an asymmetric visual cue before changing models or adding more prompt detail.
Parameters and delivered-file checks
Record the controls you selected and inspect the downloaded files. A settings label is not a substitute for measured media properties.
How to run a more informative product-motion test
Use this checklist before spending more credits or comparing models.
Add an orientation cue
For a rotation test, choose a product with a side label, cap seam, handle or other asymmetric feature that can move into and out of view.
Isolate the motion source
Ask either the product or the camera to move in a single run. Multiple simultaneous motions make failures harder to diagnose.
Lock the visible settings
Keep the model, reference image, aspect ratio, duration, resolution and generation count unchanged when testing one prompt variable.
Compare matching timestamps
Review the opening, middle and end at the same timestamps. Look for orientation changes, parallax, geometry drift, label changes and background movement.
Inspect the delivered file
Measure resolution, frame rate, duration and audio after download. Report the file you received, alongside the settings shown before generation.
Keep an evidence record
Save the source image, exact prompt, model, settings, output, generation time and cost. Record unavailable task IDs or random seeds as missing instead of reconstructing them later.
This is a two-run workflow test, not a model ranking or a deterministic benchmark. One generation was retained for each prompt, and the interface did not expose a reusable random seed or task ID. The comparison supports the motion-cue finding shown here; it does not estimate a general success rate.
How do you turn short clips into a 15-second product video?
Example edit plan for a travel tumbler. Timings refer to the finished edit. Generate and review suitable shots, then trim and assemble the accepted clips in your video editor.
Four product video prompt templates
Replace @Image1 with the label shown for your upload and adapt the product details. These are starting prompts, not tested output guarantees.
Serum hero shot
Use @Image1 as the product reference. Keep the amber bottle, cap, blank label and stone base. Slowly push the camera toward the bottle. Use soft side light and stable reflections. Keep the product still; do not add text or extra objects.
Start here when the front packaging needs to remain visible.
Footwear detail
Use @Image1 as the reference for the shoe. Keep its sole shape, stitching and material color. Make a small camera slide across the toe and side panel under even studio light. Keep the shoe planted and avoid a full rotation.
Check stitching, sole edges and contact with the surface.
Tumbler in context
Use @Image1 for the green tumbler's appearance. Place it on a simple oak desk beside a window. Make a gentle camera push-in with soft morning light. Keep the rim, lid and body shape consistent. No hands or added lettering.
Check scale and shadows; a new setting may alter small details.
Vertical product reveal
Use @Image1 as the product reference. Keep the full item centered with space above it. Use a slow upward camera move against a plain background and soft light. Keep its color and silhouette consistent. No text overlays or added accessories.
Select a supported vertical ratio in the controls; the prompt alone does not set the output format.
Why does AI product video generation fail, and what should I change?
Find the first visible problem and change the input or instruction that could cause it. Adding more adjectives rarely makes a failed shot easier to diagnose.
Continue your product video workflow
AI Product Video Generator
Turn product photos into AI product videos. Direct camera motion and lighting, generate short clips, and review the result before using it in your next campaign.
Image to Video AI Generator
Turn a photo, product shot, character image, or concept art into a short AI video. Upload an image, describe the motion, choose an AI video model, then generate cinematic image-to-video clips.
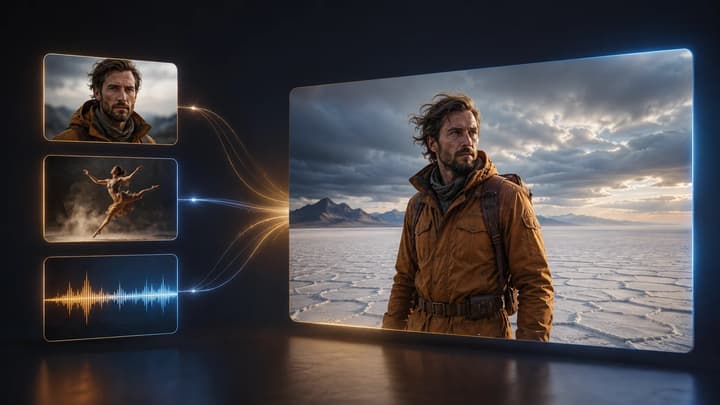
Reference to Video AI Generator
Guide a new shot with image, video, and audio references. Assign each asset a clear role for character, product, scene, motion, camera, or rhythm, then generate and review the result.
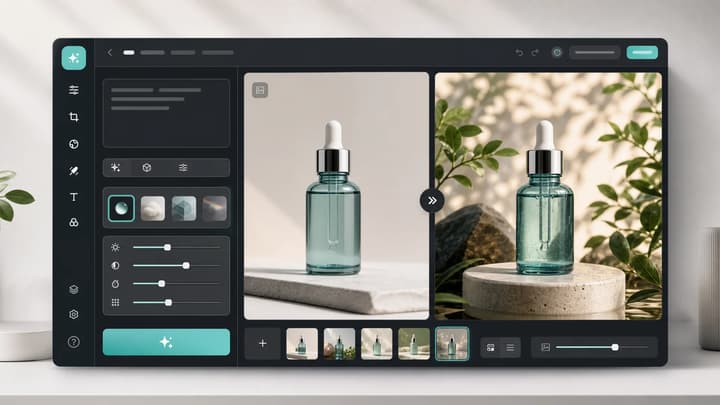
AI Image Editor
Upload an image, describe the edit, and create polished visuals for products, social posts, posters, or keyframes.
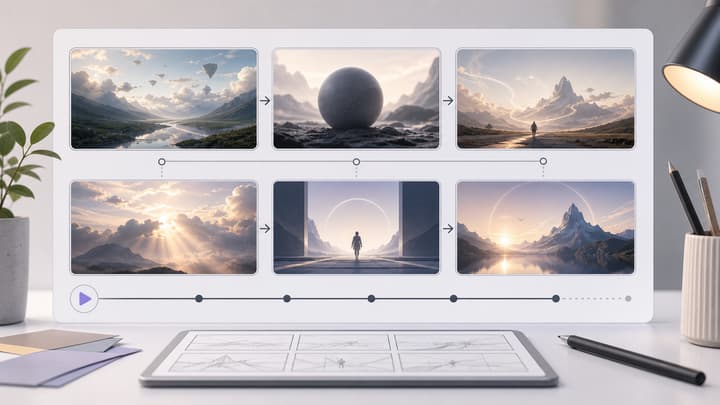
AI Storyboard Generator
Use an AI storyboard generator, storyboard AI generator, and storyboard maker workflow to create cinematic storyboard sheets for ads, product demos, short films, social content, and video planning. LumiYing turns a simple brief into a clean grid of visual shots.
Pricing
View the available plans for different creation workflows.
How to Make Product Videos with AI — FAQ
What product photo should I use?
Use a sharp photo of the actual item, with visible edges and a view that suits the planned shot. Avoid heavy blur, misleading colors or several unrelated products in one reference.
Why does a rotating product show the wrong back?
The reference may not show that surface. Generative video can invent missing detail. Reduce the camera move or provide a separate photo of the required angle and create another shot.
Will labels and product details stay exactly the same?
Exact preservation is not guaranteed. Generative video can alter lettering, geometry and reflections. Use restrained movement, compare against the reference and reject clips that misrepresent the product.
Does it create a complete product ad?
It generates short footage. Plan separate shots and assemble accepted clips, captions, brand graphics and a call to action in your video editor. Do not expect an automatically edited campaign from one image.
Can I make vertical product videos?
Choose a supported vertical aspect ratio in the generator before creating the clip. Keep the product inside the intended frame; available formats and durations depend on the selected model.
What is the best AI product video generator for my product?
Match the tool to the job. For a physical product, test your actual photo and compare label readability, shape, camera control and credits spent per usable clip. Software walkthroughs need accurate screen recordings; presenter-led ads need a separate presenter workflow. A general model ranking cannot settle those needs.
How can I make product videos with AI on a small budget?
Plan the shots before generating. Test one short shot, save the source and prompt, then change only the failed instruction. Keep usable clips and regenerate only what is missing. Check the displayed credit cost; a free trial or unlimited generation is not assumed.
Can AI make an unboxing or product demo video?
AI can help plan an unboxing script and create supporting product shots. Use actual footage when the sequence must prove what is inside a package, how a mechanism works or what a screen displays. Edit the verified demonstration and generated footage together after checking the details.
Try your first product shot
Prepare one product photo and adapt a prompt above, then open the generator.