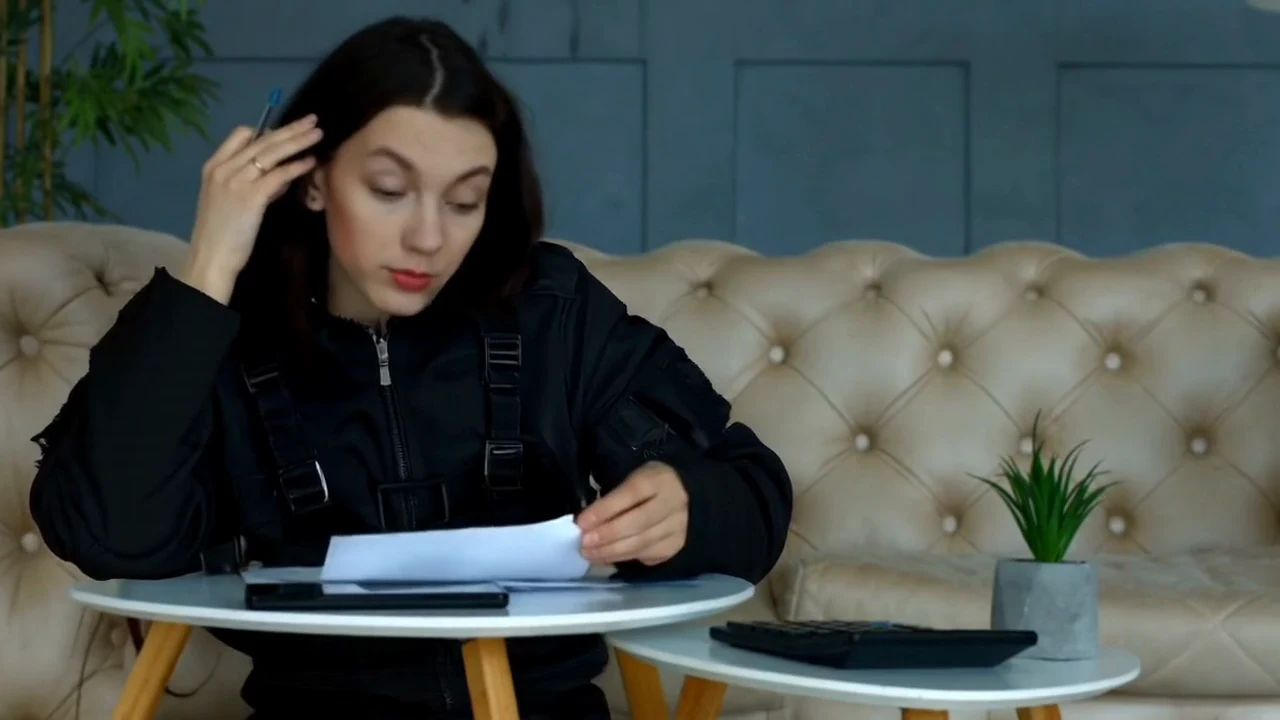
Change an outfit
Inspect the neckline, sleeves and clothing during movement.
Edit prompt
Replace the clothing with the matte black techwear jacket shown in the reference image.
Start with one clear shot, name one change and specify what should stay. This guide shows how to prepare footage, use image references and review an AI edit across the whole clip.
LumiYingUpdated
Direct a specific change in existing footage, from wardrobe to scene lighting. The source clip supplies the action and camera movement.
Trim longer footage before upload. Choose a segment where the target stays visible; hard cuts, heavy motion blur and long occlusions make an edit harder to judge.
For a wardrobe edit, write: replace the checked shirt with the black jacket in the reference; retain the face, body movement, camera and room. Avoid a simultaneous request for a new pose or location.
A jacket photo should guide the jacket, not the person or camera. Name the relevant image when adding several references, and remove references that disagree with the requested change.
Separate an outfit change from a camera move or a new setting so you can judge each result.
Find a short continuous passage that includes the difficult motion, such as a turn or an object passing in front of the target. Keep your original file for comparison.
Identify the target by its position or appearance, then state the replacement and two or three details to retain. For several similar objects, describe exactly which one should change.
Upload the clip and any appearance reference. Select a model that accepts the source and a supported resolution. Review the credit estimate; a higher resolution does not solve an unclear instruction.
Watch source and edit at the opening, midpoint and ending. Then play the whole result and listen to its sound. Save the prompt with the version; revise one instruction if you need another attempt.
Use these comparisons to practise spotting changes outside the target before editing your own footage.
Inspect the neckline, sleeves and clothing during movement.
Replace the clothing with the matte black techwear jacket shown in the reference image.
Check the beginning, middle and end, then play the full clip for flicker, shape changes and sound.
Direct a specific change in existing footage, from wardrobe to scene lighting. The source clip supplies the action and camera movement.
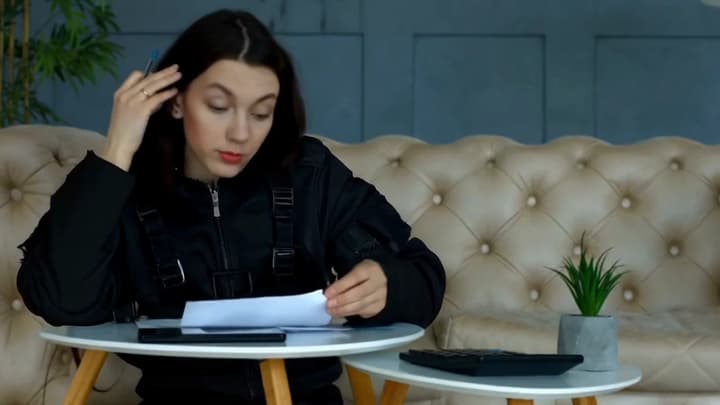
Edit a video with text. Upload your clip, describe a change to clothing, objects, background or lighting, and add reference images when you need a specific look.
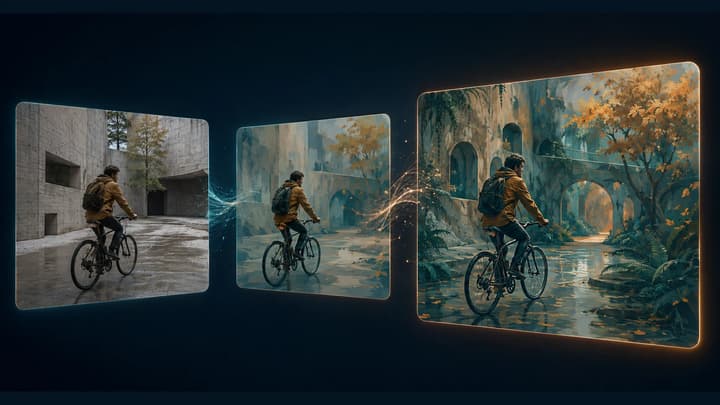
Restyle the whole clip with Video to Video.
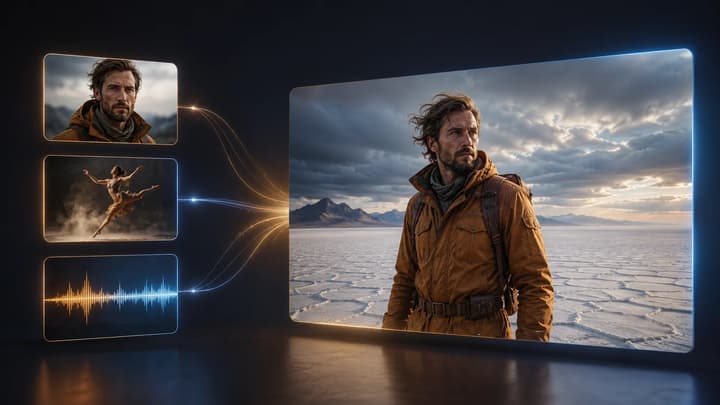
Use references to create a new shot.
Generate what happens after a clip ends.
Upload one MP4 or MOV up to 200 MB. The default accepts 2–30 seconds. Duration, dimension and reference limits depend on your selected model; check the uploader’s requirements.
This editing mode follows the source clip rather than offering a separate output length or canvas. Choose the available resolution; prepare a different crop or trimmed source before uploading when needed.
Use this editor for a specific change within an existing shot. Video to Video is the starting point for an overall visual restyle. Neither tool replaces a timeline editor for trimming and assembling a full production.
Separate an outfit change from a camera move or a new setting so you can judge each result.